
The Complete Red Light Therapy Dosage Guide: Science-Based Protocols for Home and Professional Use (2026)
Published by Red Light Wellness | Last Updated: February 2026
Getting red light therapy dosage wrong costs you results. Dose too low and your cells barely respond. Dose too high and you trigger the Arndt-Schulz inhibitory effect — where light energy actually reverses the benefits you're chasing.
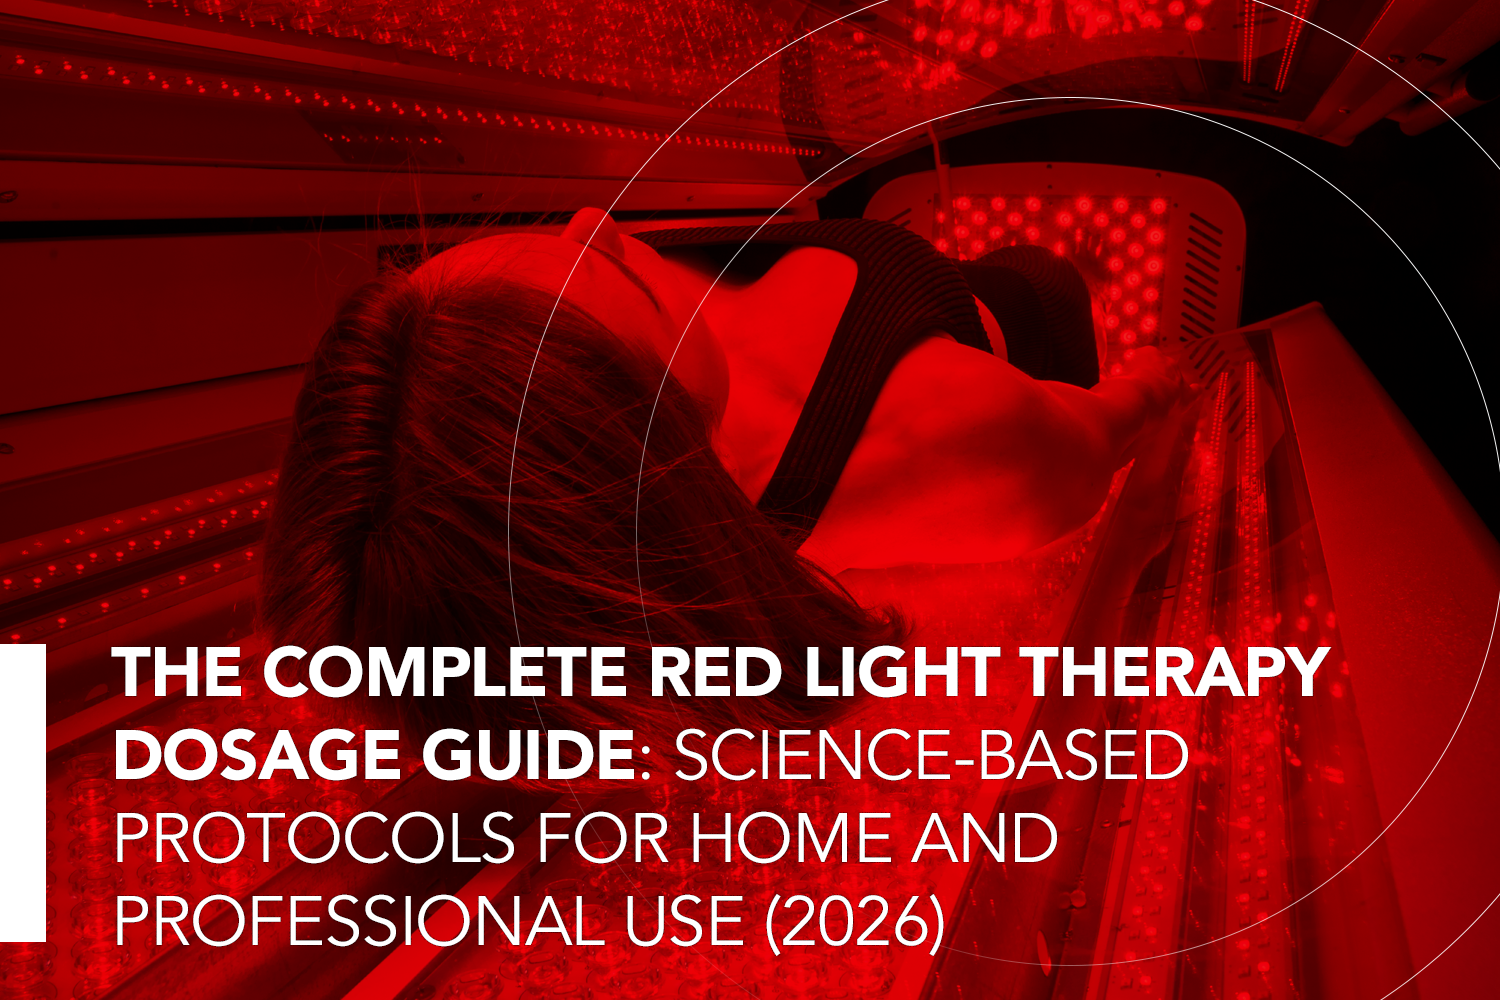
This guide gives you the exact dosage protocols used in clinical photobiomodulation research — the same parameters behind the results published in peer-reviewed journals. Whether you're treating skin at home with a portable device or running a full-body session in a professional bed, the dosing principles are identical. Only the delivery method changes.
Our protocols draw from analysis of 8,858+ peer-reviewed studies in the Photobiomodulation Research Database compiled by Vladimir Heiskanen (University of Helsinki). Every number in this guide traces back to published research.
At-Home Dosing Quick Reference
Most people searching for dosage guidance are using red light therapy at home. Here's your quick-reference chart before we go deep on the science.
The Core Formula:
Energy Dose (J/cm²) = Irradiance (mW/cm²) × Time (seconds) ÷ 1,000
Note: Irradiance is also called power density — they mean the same thing. "Fluence" is another term for energy dose.
Quick Dose Targets by Goal:
Skin (face, neck, chest): 3–15 J/cm² at 660nm → Use a facial mask or wand at 6–12 inches
Hair (scalp): 6–12 J/cm² at 650–670nm → Use a therapy hat at direct contact
Muscle recovery: 20–40 J/cm² at 810–850nm → Use a pad or wrap at 2–6 inches
Joint pain: 15–60 J/cm² at 780–850nm → Use a wrap at 1–4 inches from the joint
Full-body wellness: 10–30 J/cm² at dual wavelengths → Use a professional therapy bed
The Non-Negotiable Rule: Start at 50% of your target dose for the first two weeks. Your cells need time to upregulate cytochrome c oxidase receptors. Jumping to full dose on day one is the number-one reason people report "red light therapy doesn't work."
Why Dosage Matters More Than Your Device
Dosage is the single variable that determines whether red light therapy works for you. Not the brand of your device. Not whether it's an LED or a laser (research shows equivalent biological effects at equal fluence regardless of coherence). Not how expensive it was.
Real photobiomodulation — also called low-level light therapy (LLLT) — follows precise energy delivery protocols. The same protocols used in the 8,858+ studies that demonstrate clinical outcomes. Those studies succeed because they control dosage with precision.
And here's what the research consistently shows: there is a therapeutic window. Below 2–3 J/cm², cellular response is minimal. Between 3–50 J/cm², you're in the zone where mitochondria respond optimally. Above 60–80 J/cm², the biphasic dose response kicks in — benefits diminish, and at extreme doses above 100 J/cm², inhibitory effects can actually make things worse.
This biphasic response — formally called the Arndt-Schulz Law — is the reason "more light" doesn't mean "better results." It behaves like exercise: the right dose builds strength, but overtraining breaks you down.
Understanding the Dosage Formula
Every effective protocol starts with three variables:
Irradiance (Power Density): How Strong Is Your Light?
Irradiance measures the intensity of light hitting your skin, expressed in milliwatts per square centimeter (mW/cm²). Most therapeutic devices deliver between 20–200 mW/cm² at their recommended treatment distance.
Distance is critical. The inverse square law means doubling your distance from the device cuts irradiance by 75%. If your device delivers 100 mW/cm² at 6 inches:
At 12 inches: ~25 mW/cm²
At 18 inches: ~11 mW/cm²
At 24 inches: ~6 mW/cm²
This isn't a minor detail — it's the difference between a therapeutic dose and an expensive nightlight.
Home device tip: If your device doesn't list irradiance at specific distances, you can measure it with a solar power meter (available for under $30). Position it at your treatment distance and read the mW/cm² value directly.
Energy Density (Fluence): Your Actual Dose
Energy density — also called fluence — is measured in joules per square centimeter (J/cm²). This is the number that determines whether your treatment produces results.
Therapeutic ranges by tissue depth:
Superficial (skin, hair, surface vessels): 3–15 J/cm² using red light (630–670nm)
Medium depth (muscles, tendons): 15–40 J/cm² using near-infrared (810–850nm)
Deep tissue (joints, organs, bone): 30–60 J/cm² using near-infrared (810–850nm)
Systemic effects (circulation, brain): 10–40 J/cm² using near-infrared
Treatment Frequency: Consistency Beats Intensity
Your cells respond to repeated stimulation. A single high-dose session does less than five moderate sessions across a week. Research across conditions consistently shows:
Minimum effective frequency: 3 sessions per week
Optimal for most goals: Daily treatment (once per day)
Maximum frequency: Twice daily with 6+ hours between sessions
Total daily exposure limit: 120 J across all treated areas
Condition-Specific Dosage Protocols
Skin Rejuvenation and Anti-Aging
Protocol:
Fluence: 8–15 J/cm²
Wavelength: 660nm (red light)
Irradiance: 50–100 mW/cm²
Distance: 6–12 inches
Duration: 8–15 minutes
Frequency: 4–5 sessions per week
Why it works: Red light at 660nm penetrates 2–5mm — deep enough to reach the dermal layer where fibroblasts produce collagen and elastin. Wunsch and Matuschka (2014) demonstrated measurable improvements in skin elasticity and reduction in fine lines after 12 weeks at these parameters. Couturaud et al. (2023) confirmed anti-aging effects at 15.6 J/cm² using 630nm in 12-minute sessions.
The biphasic caution: Skin tissue is sensitive. Exceeding 20 J/cm² for surface treatments can trigger oxidative stress that counteracts collagen stimulation. Stay in the 8–15 J/cm² window.
Your Home Device Match:
For facial skin treatment, the LumaGlow LED Therapy Mask delivers 660nm and 850nm at the optimal 6-inch distance with full facial coverage — no holding a panel in front of your face for 15 minutes. For targeted spot treatment on neck, chest, or specific areas, the Red Light Therapy Wand lets you dose precisely at close range.
Pro tip: Start at 8 J/cm² for your first two weeks. Increase to 12–15 J/cm² during weeks 3–6 as your skin adapts to increased cellular activity.
Hair Growth and Scalp Health
Protocol:
Fluence: 6–12 J/cm²
Wavelength: 650–670nm
Irradiance: 5–25 mW/cm²
Distance: Direct contact to 2 inches
Duration: 20–30 minutes
Frequency: 3–4 sessions per week
Why it works: Hair follicles sit 3–5mm below the scalp surface — within red light's penetration range. Lower irradiance prevents thermal buildup on the scalp while delivering sufficient energy to follicular stem cells. Clinical research shows up to 37% increase in hair count over 16 weeks when dosage stays within these ranges. However, consistency matters far more than intensity here — missing sessions sets back follicular cycling more than under-dosing a single session.
Your Home Device Match:
The Red Light Therapy Hat delivers direct-contact dosing across the full scalp. Direct contact eliminates distance variability — the irradiance your scalp receives is consistent every session, which is exactly what follicular cells need.
Pro tip: Hair growth results take 12–16 weeks to become visible. The follicular cycle is slow. Commit to 16 weeks before evaluating whether to adjust your protocol.
Muscle Recovery and Athletic Performance
Protocol:
Fluence: 20–40 J/cm²
Wavelength: 810–850nm (near-infrared)
Irradiance: 100–200 mW/cm²
Distance: 2–6 inches from the muscle group
Duration: 5–15 minutes per area
Frequency: Daily during training, 3x weekly for maintenance
Why it works: Near-infrared light at 810–850nm penetrates 20–40mm — reaching deep muscle tissue where mitochondrial density is highest. Studies show 24% reduction in post-exercise blood lactate and 13% improvement in power output with pre-exercise treatment.
Timing matters: Treat muscles BEFORE exercise for performance benefits (enhanced ATP availability). Treat AFTER exercise for accelerated recovery (reduced inflammatory markers). Both work, but the mechanism differs.
Your Home Device Match:
For targeted muscle groups (calves, arms, hamstrings), the Red Light Therapy Calf/Arm Wrap provides consistent contact dosing without hand-holding a device. For larger areas (back, quads, core), the Red Light Therapy Pad wraps around the body to deliver full-surface coverage.
For full-body recovery after intensive training sessions, a professional red light therapy bed session treats every muscle group simultaneously in 10–20 minutes.
Pain Relief and Inflammation Control
Protocol:
Fluence: 15–60 J/cm²
Wavelength: 780–850nm
Irradiance: 50–150 mW/cm²
Distance: 1–4 inches from the pain site
Duration: 10–20 minutes per area
Frequency: Daily for acute pain, 3–5x weekly for chronic conditions
Why it works: Higher fluence is required for pain applications because the target tissue (joint capsules, deep fascia, nerve endings) is deeper. Research consistently shows optimal pain relief in the 30–50 J/cm² range using near-infrared wavelengths. The mechanism involves modulation of inflammatory cytokines and direct effects on nociceptive signaling.
Chronic vs. acute: For chronic pain, consistency beats intensity every time. Five sessions at 30 J/cm² produces better outcomes than two sessions at 60 J/cm². For acute pain (injury, post-surgical), daily treatment at full therapeutic dose accelerates resolution.
Your Home Device Match:
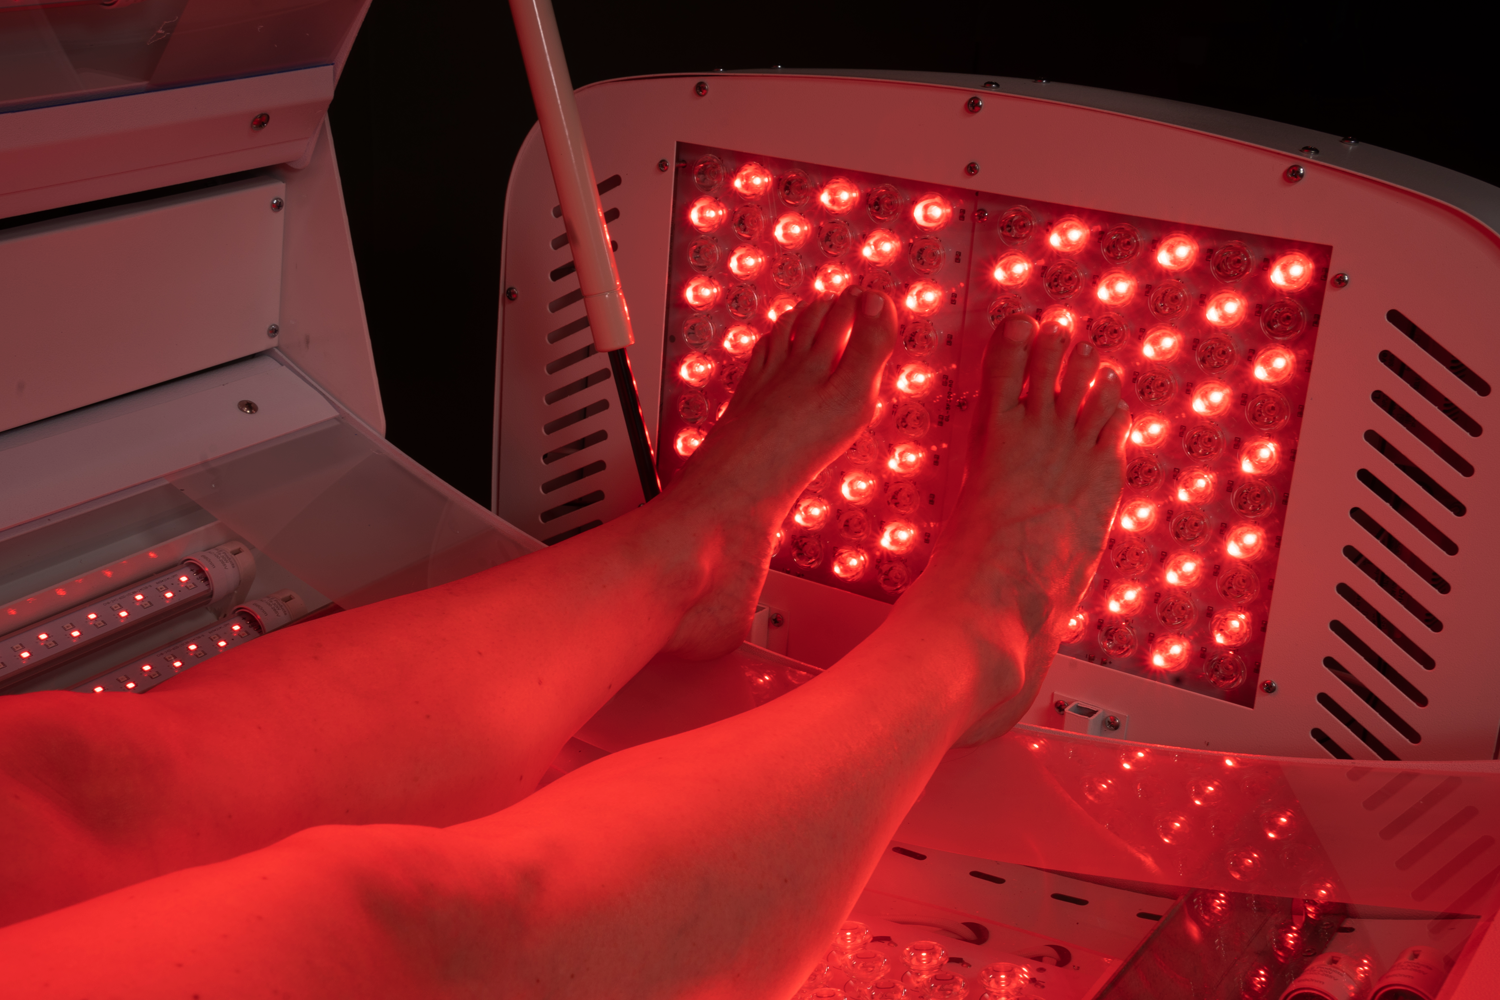
For foot and ankle pain (plantar fasciitis, neuropathy), the Red Light Therapy Foot Wrap delivers targeted near-infrared directly to the pain site. For knee, elbow, wrist, or calf pain, the Calf/Arm Wrap conforms to the joint for consistent distance dosing. The Wand works well for trigger points and small areas of acute pain.
Wound Healing and Post-Surgical Recovery
Protocol:
Fluence: 2–10 J/cm²
Wavelength: 660–670nm
Irradiance: 20–50 mW/cm²
Distance: 1–3 inches from wound site
Duration: 5–15 minutes
Frequency: Daily until healed
Why it works: Wound tissue is highly photosensitive — lower doses optimize cellular repair without triggering inflammatory responses. Studies show up to 40% faster healing at these parameters. The mechanism involves enhanced fibroblast migration, angiogenesis, and collagen deposition at the wound margins.
Critical dosing note: Less is more with wound healing. This is where the Arndt-Schulz biphasic response is most pronounced. Exceeding 15 J/cm² on open or healing tissue can delay recovery by amplifying oxidative stress.
Your Home Device Match:
The Red Light Therapy Wand is ideal for wound care — its small treatment area allows precise dosing at close range without affecting surrounding tissue. For larger healing areas (surgical incisions, burns), the Red Light Therapy Pad covers the full area uniformly.
Osteoarthritis and Joint Health (NEW)
Protocol:
Fluence: 15–40 J/cm²
Wavelength: 810–850nm (near-infrared)
Irradiance: 50–150 mW/cm²
Distance: Direct contact to 4 inches over the joint
Duration: 10–20 minutes per joint
Frequency: Daily for flare-ups, 3–4x weekly for maintenance
Why it works: A 2024 systematic review confirmed that photobiomodulation improves both pain and functional disability in osteoarthritis, with the strongest evidence for knee and hand joints. Near-infrared wavelengths penetrate the joint capsule to reach synovial tissue. Most effective study protocols stay in the 15–20 J/cm² range, though some studies use doses up to 90 J/cm² for pain-blocking effects (likely through overdose-induced inhibition of nociceptive signaling).
Individual variability matters here: Joint thickness, body composition, and skin pigmentation affect how much light actually reaches the synovial space. Darker skin absorbs more surface photons, potentially requiring slightly longer sessions or closer device placement. Listen to your body — if a week of treatment produces no change, increase fluence by 25% before changing wavelength.
Your Home Device Match:
For knee, ankle, and elbow joints, the Calf/Arm Wrap maintains direct contact with curved joint surfaces. For hand and wrist arthritis, the Wand gives precise control over small joint areas. For foot and ankle osteoarthritis, the Foot Wrap covers the entire foot and ankle complex.
Sleep and Circadian Support (NEW)
Protocol:
Fluence: 10–20 J/cm²
Wavelength: 660nm (red light — no blue/white light)
Irradiance: 20–50 mW/cm²
Distance: 12–24 inches (ambient exposure is fine)
Duration: 15–30 minutes, 1–2 hours before bed
Frequency: Nightly
Why it works: Red light at 660nm does not suppress melatonin production the way blue or white light does. Evening red light exposure has been shown to support natural circadian rhythm by providing photonic stimulus without disrupting the melatonin signaling cascade. Some studies report improved sleep quality scores after 2 weeks of evening red light exposure.
The key distinction: This is not about dosing a specific tissue — it's about ambient light environment. Lower irradiance at greater distance is intentional.
Your Home Device Match:
The LumaGlow LED Therapy Mask on a low-intensity setting provides gentle red light exposure to the face during your wind-down routine. Pair with RedRx Magnesium applied topically for a comprehensive relaxation protocol.
Brain Health and Cognitive Support (NEW)
Protocol:
Fluence: 20–60 J/cm² (transcranial application)
Wavelength: 810nm or 1064nm (near-infrared)
Irradiance: 50–250 mW/cm²
Distance: Direct contact to scalp (only ~5% of light penetrates the skull)
Duration: 10–25 minutes
Frequency: 3–5 sessions per week
Why it works: Transcranial photobiomodulation is an emerging research area with promising results for cognitive function, Alzheimer's disease, traumatic brain injury recovery, and general brain health. Near-infrared wavelengths (especially 810nm) penetrate the skull and reach cortical tissue. A 2023 systematic review found that cumulative irradiation time is a key moderator — more total sessions over weeks produces better outcomes than high single-dose treatments.
Important caveat: This is an active research area with highly variable study protocols. No universally established dosing guideline exists yet. The parameters above represent the most commonly effective ranges across published studies. Consider working with a healthcare provider familiar with photobiomodulation for brain-health applications.
Your Home Device Match:
The Red Light Therapy Hat delivers near-infrared directly to the scalp with full coverage — a convenient form factor for transcranial applications during daily routines.
Advanced Dosing Strategies
The Progressive Loading Protocol
This three-phase approach prevents the biphasic inhibitory response while building to optimal therapeutic levels:
Phase 1 — Conditioning (Weeks 1–2): Start at 50% of your target fluence. Your cells need time to upregulate photoreceptors, increase cytochrome c oxidase expression, and adapt metabolic pathways to increased photonic input.
Phase 2 — Therapeutic (Weeks 3–6): Move to full target fluence. This is where primary benefits emerge — collagen production, pain reduction, hair growth activation.
Phase 3 — Optimization (Week 7+): Fine-tune based on your individual response. Some people benefit from a 20–30% fluence increase after cellular adaptation plateaus. Others maintain results at Phase 2 levels indefinitely.
Combination Wavelength Dosing
Using 660nm red and 850nm near-infrared simultaneously treats multiple tissue depths in a single session.
Split protocol: Allocate 60% of session time to near-infrared (deeper penetration) and 40% to red light (surface benefits).
Sequential protocol: Start with 660nm red light for 6–8 minutes, then switch to 850nm near-infrared for the remaining session time.
Why this works: Red and near-infrared wavelengths target different chromophores at different tissue depths. Red light is absorbed primarily by hemoglobin and melanin in superficial tissue. Near-infrared peaks at cytochrome c oxidase absorption in deeper mitochondria. Dual-wavelength treatments have shown superior outcomes in collagen production, muscle healing, and pain relief compared to single-wavelength approaches.
Pulsed vs. Continuous Light
Pulsed light protocols (10–40 Hz) may enhance cellular signaling while preventing thermal buildup. If using pulsed modes, extend treatment time by 25–50% to compensate for the duty cycle.
10 Hz pulsing: Enhanced general cellular signaling
25 Hz pulsing: Optimized for pain relief applications
40 Hz pulsing: Associated with improved tissue penetration and neurological applications
Recent research suggests pulsed delivery at higher irradiance may produce improved clinical outcomes compared to continuous wave at equivalent total fluence, particularly for transcranial applications.
The Biphasic Dose Response: Why More Light Isn't Better
This is the most important concept in photobiomodulation dosing — and the one most people ignore.
The Arndt-Schulz Law, validated across hundreds of LLLT studies, demonstrates a consistent pattern:
Below 2 J/cm²: Minimal cellular response. Not enough photonic energy to meaningfully shift mitochondrial output.
3–50 J/cm² (the therapeutic window): Optimal stimulation. Cytochrome c oxidase absorbs photons, releases nitric oxide, and increases electron transport chain efficiency. ATP production rises 150–200%. Downstream cascades activate: calcium channels open, reactive oxygen species (at beneficial levels) modulate inflammation, gene expression shifts toward repair and growth.
50–80 J/cm²: Diminishing returns. Cellular response plateaus. The additional photonic energy produces heat without proportional biological benefit.
Above 100 J/cm²: Inhibitory effects. Excessive reactive oxygen species overwhelm cellular antioxidant capacity. Inflammatory markers increase. The treatment actively works against your goals.
This biphasic curve appears across cell types, tissue depths, and clinical conditions. It's why precision matters and why a $30 solar power meter to verify your device's irradiance is one of the best investments you can make.
Device-Specific Dosing Guidance
Portable Home Devices (Wraps, Pads, Wands, Masks, Hats)
Home devices typically deliver 20–200 mW/cm² at contact or near-contact distances. The advantage: consistent dosing because the device-to-skin distance stays fixed.
Distance calculation is simplified — most portable devices are designed for 0–6 inches. Your main variable is session duration.
Quick calculation: At 50 mW/cm², reaching 10 J/cm² takes 200 seconds (about 3.5 minutes). At 100 mW/cm², the same dose takes 100 seconds (under 2 minutes). Check your device's irradiance spec and calculate accordingly.
LED Panel Arrays
Large panels (500–2,000 cm²) deliver 40–120 mW/cm² and cover multiple body areas simultaneously. Treatment distance of 6–18 inches for 8–20 minutes covers most therapeutic ranges.
Professional-grade panels offer higher irradiance, shorter sessions, and better beam uniformity across the treatment area.
Full-Body Red Light Therapy Beds
Red Light Wellness manufactures professional red light therapy beds featuring the proprietary Goldilocks System — which automatically maintains optimal LED-to-body distance for consistent dosing across the entire body surface.
Bed dosing advantages:
Fixed distance eliminates calculation variables
Full-body coverage enables systemic photobiomodulation effects
Dual-wavelength delivery (660nm + 850nm) treats all tissue depths simultaneously
Irradiance from 504–960 mW/cm² across the Wellness Collection enables therapeutic doses in as little as 30 seconds
For clinics, spas, and wellness centers, beds offer the highest throughput — one 10–20 minute session replaces what would take 60+ minutes with a portable device targeting one area at a time.
Common Dosage Mistakes
Estimating distance instead of measuring it. "About 6 inches" could be 4–8 inches — a 300% variance in irradiance. Measure every session until your positioning becomes automatic.
Inconsistent timing. Varying session length without accounting for distance changes corrupts your dose calculations. Use a timer. Every session.
Full dose on day one. Your cells need a 2-week conditioning phase. Start at 50% target fluence and increase gradually.
Wrong wavelength for target depth. Red light (660nm) for skin. Near-infrared (810–850nm) for deep tissue. Using 660nm for muscle recovery means most of your photonic energy is absorbed in the first 5mm — never reaching the target tissue.
Ignoring the biphasic response. If your results plateau or reverse, you may be overdosing. Reduce fluence by 25% and monitor for 2 weeks before concluding "it doesn't work."
Troubleshooting Your Protocol
No results after 4–6 weeks: Most common cause is under-dosing. Verify your device's actual irradiance with a solar power meter — manufacturer specs are sometimes measured at contact distance, not at your treatment distance. Increase fluence by 25–50% and ensure you're hitting 3+ sessions per week.
Skin redness lasting more than 2 hours: You're overdosing. Reduce fluence by 50%, increase treatment distance by 4–6 inches, and switch to every-other-day until the response normalizes.
Temporary symptom worsening: Some people experience a brief inflammatory response in the first 1–2 weeks. If mild, continue protocol — it typically resolves. If persistent, reduce dose by 25%.
Results plateau after initial improvement: Your cells have adapted. Options: increase fluence by 20–30%, add a second daily session (6+ hours apart), incorporate pulsed protocols, or switch to combination wavelengths.
Safety Guidelines
Daily exposure limits: Maximum 120 J total across all treated areas. Maximum 60 J/cm² per area per session. No more than 2 sessions per day with 6+ hours between them.
Eye protection is mandatory when using any device over 5 mW total output, when directly viewing LED arrays, or when reflective surfaces are in the treatment area. Our Eye Protection sets should be worn during every session.
Contraindications: Active malignancies (unless prescribed by an oncologist), pregnancy (avoid abdominal treatment), direct unprotected eye exposure, photosensitizing medications (check with your pharmacist), and areas with reduced sensation.
Frequently Asked Questions
-
Results timelines vary by condition:
Acute pain relief: 1–3 sessions
Muscle recovery improvement: 1–2 weeks
Visible skin changes: 4–8 weeks
Measurable hair growth: 12–16 weeks
Chronic condition improvement: 6–12 weeks
Individual variability is real. Factors including baseline health, treatment compliance, dosage accuracy, skin pigmentation, tissue density, and metabolic rate all influence response speed.
-
Yes — and overdosing is counterproductive, not just wasteful. Signs of overdosing include persistent skin redness (lasting 2+ hours), increased pain or inflammation after treatment, paradoxical worsening of the condition you're treating, and fatigue after sessions. The fix is simple: reduce your fluence by 25–50% and respect the biphasic dose response curve.
-
Three sessions per week is the minimum effective frequency for most goals. Daily treatment is optimal. For acute conditions (fresh injuries, post-surgical recovery), daily treatment accelerates outcomes. For maintenance and prevention, 3–4 sessions per week sustains results. Consistency always beats intensity — five moderate sessions outperform two heavy ones.
-
Choose 660nm for:
Skin rejuvenation and anti-aging
Hair growth stimulation
Superficial wound healing
Acne treatment
Surface-level conditions
Choose 850nm for:
Muscle recovery and performance
Joint pain and arthritis
Deep tissue healing
Neurological applications
Systemic wellness effects
Choose combination for:
Comprehensive wellness protocols
Multiple treatment goals
Unknown optimal wavelength
Maximum versatility
-
LED advantages:
Lower cost per milliwatt
Larger treatment areas
Built-in safety features
User-friendly operation
No coherence concerns
Laser advantages:
Higher power densities possible
Precise beam control
Established clinical protocols
Professional preference
Better tissue penetration at equivalent power
-
Session length depends entirely on your device's irradiance and your target fluence. At 50 mW/cm², reaching a 10 J/cm² dose takes about 3.5 minutes. At 100 mW/cm², the same dose takes under 2 minutes. Most home device sessions run 5–20 minutes per treatment area. Full-body bed sessions typically run 10–20 minutes total.
-
No. Higher irradiance enables shorter sessions and better deep-tissue penetration, but it also increases overdose risk and requires more precise timing. The "sweet spot" for home devices is 50–150 mW/cm² at treatment distance — high enough for therapeutic efficiency, low enough for practical session lengths (5–20 minutes) with margin for timing variability.
Your Next Step
Getting red light therapy dosage right isn't complicated — it's precise. Know your device's irradiance. Calculate your target fluence. Time your sessions. Start conservatively and increase gradually.
For home use: Browse our consumer devices — every product delivers therapeutic wavelengths (660nm, 850nm, or both) at irradiance levels designed for the protocols in this guide.
For professional use: Our Wellness Collection of FDA Class II medical devices features the proprietary Goldilocks System for automatic dose optimization. Four models from the entry-level Miracle 5040 to the premium Max Miracle 9600 cover every practice size and patient volume.
The difference between red light therapy success and disappointment is dosage precision. You now have the protocols. Apply them.
This guide represents current best practices based on peer-reviewed research. Individual responses vary — factors including skin pigmentation, body composition, baseline health, and concurrent medications all influence optimal dosing. Consult healthcare providers for medical conditions and consider professional guidance for complex treatment protocols.
The Red Light Wellness editorial team has forty years of expertise in light therapy and photobiomodulation (PBM) research. Red Light Wellness is an FDA Class II cleared medical device manufacturer based in St. Louis, Missouri. The company designs and produces commercial-grade red light therapy beds for chiropractors, medspas, physician clinics, and wellness practices across the United States. The editorial team combines engineering knowledge with clinical experience from working alongside these professionals daily.
A multidisciplinary team develops this content. The team includes:
· Biomedical engineers specializing in LED wavelength technology and therapeutic light delivery systems · Clinical advisors from our network of healthcare professionals who use Red Light Wellness equipment daily · Regulatory specialists who ensure all content aligns with FDA Class II cleared medical device standards · Wellness industry analysts tracking market trends.
Red Light Wellness operates from an FDA-listed facility in St. Louis, Missouri. The company designs and manufactures commercial-grade red light therapy beds used by healthcare professionals nationwide.
Our clinical advisors are licensed healthcare practitioners who use our FDA Class II cleared medical devices in daily practice.